
You may have seen the rig below, but not known that it’s called a “fig rig”, conceived by Mike Figgis, a very successful film director.
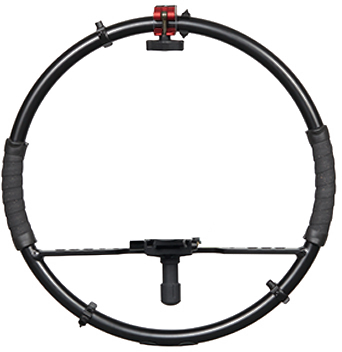
You may also not know what it’s for, or how this super simple piece of kit can be very effective.
The short explanation is that it reduces camera pivoting, giving a more stable image.
let’s image than you’re hand holding a camera, trying to hold it steady, holding the camera away from your body, and even doing the infamous duck waddle. If you accidentally move on of your hands 1 inch on a vertical axis, on a BMPCC like mine, that’d equal approximately 26° rotation.
 This is possible by stepping on uneven ground. Though lots of little movements can add up, like your arm moving from your heart pumping blood through your muscles that you’re trying to steady.
So lets move your hands away from the center pivot point, much like a lever – doubling the length of a lever halves the effort, but doubles the needed movement to get the same angle – and this extra movement leeway is what we are interested in.

So stick the aforementioned BMPCC (or any camera, for that matter) into the fig rig (this is not to scale, because I didn’t have a fig rig on hand to use as photo reference). Now that same 1 inch movement only results in approximately 8° rotation.
All of this stabilization by using a 2,300 year old theorem.
luckily it does it on 2 axes, looking top down, it will reduce that rotational shake too.

Unfortunately the only manufacturer of this exact product is Manfrotto, and they discontinued it. Have no fear though, there are many other options, there are questionable lookalikes on ebay, and even shoulder rig (spider like) things that you can morph to be a fig type rig with top handle.
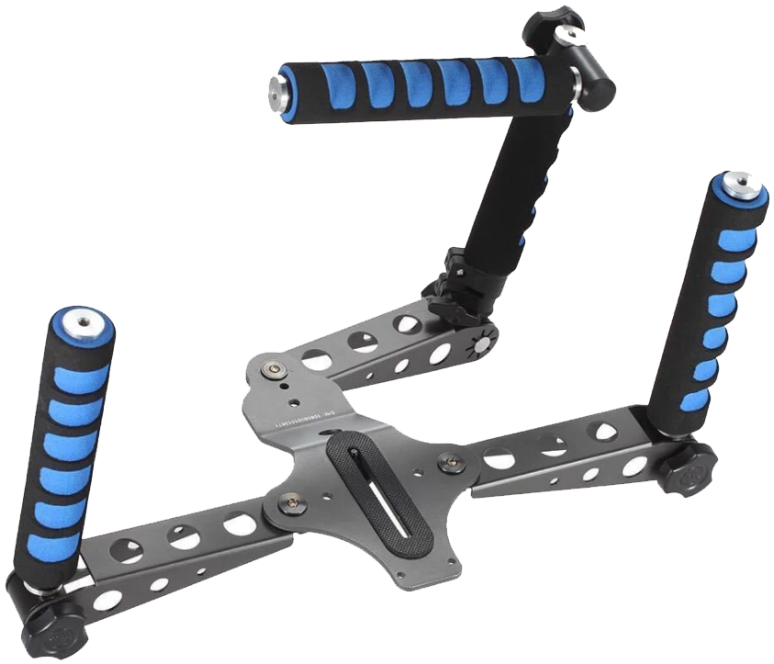
If however, you want to try something out that you don’t have to spend much money on, you can do a cursory google search and find many DIY examples. Or if you are like me, and have a shoulder rig, you can make a quick skew-whiff rig from that. I can say that it works well. (handles being up or down is your choice)

WHY?
Is what I hear you asking, when there are 3 axes gimbals, and steadicams out there. For starters, there is no setup time, just attach and run with it.
In relation to the 3 axes gimbals, they are a very powerful tool, but there is setup time (all be it, quite small), not all of them are light, and they rely on batteries. Batteries may not seems like an issue to the uninitiated, but say you’re out on location, you’ve left spare batteries behind, not charged them, or a fault presents itself, then your job becomes much harder (if not impossible). I prefer a 3 axis myself, but they can be trouble, and one day you will say to yourself, “urg, I can’t be bothered with it today.” Another thing you may want to consider, is if you want a real/rough feel, not such a smooth, glider like motion.
A handheld steadicam is a pain to balance, very time consuming, heavy (it literally uses weights), it is not perfect, and requires many hours to learn how to even use it. If you have a body mounted steadi arm with your steadicam, then you will have even more weight, setup time, and upwards of days to train in its use. I don’t use mine very often, and when I do, it’s because I need a smoth shot walking backwards, otherwise I use a shoulder rig, 3 axes, or fig rig.
You don’t need to be married to the idea of only using a fig rig, but consider it as a possible addition to your arsenal of creative tools.
